Showing posts with label Parties and gatherings. Show all posts

Bunny Tail Treats


 Since the first day of March I've had my nose pressed to the window looking for signs of spring. Alas, it's Michigan; we've had three days of snow.  Finally, my patience paid off.  I'm happy to report that our spring flowers are poking out of the ground with a few blooming in the sunshine now.  Our neighborhood wildlife is on the move and visiting our yard.  Among them are a few bunny families, which inspired me for these Bunny Tail Treats for Easter.

Bunny Trail Treats
You'll need:
#Lindt White Chocolate Truffles
#OreoThins Cookies "Mint"
Mini Marshmallows
#Wilton Green Candy Melts
Pink Sanding Sugar
Pink or red food coloring
Food safe paint brush
Shallow microwavable bowl
Wax paper
Food safe scissors
Wilton pre-made flowers
#Cadbury mini eggs


Start with the mini marshmallows and food safe scissors; you will be cutting three types of marshmallow shapes and sheet of wax paper.  The first part of your bunny tail treat is the tail.  You're going to begin by rolling your mini marshmallow between your fingers to give it the soft rumpled look of fluff.  Not too long: you don't want a sticky tail.  Once you have the look you want cut the ball in half and set aside with the sticky side down on the waxed paper, this gives you two tails.  (Do this for each bunny tail you are making).


Next, move on to the feet.  For this you want to flatten the marshmallow to an oval shape of feet with your finger tip. Then, cut in half and place the sticky side of the marshmallow down on your wax paper.  Keep the feet pair together, later you will paint the toes with food color. (Do a pair for each bunny tail you are making, with a few extra for safe measure).

The last marshmallow piece you're going to make is the ears.  For this you will need a shallow bowl or plate to pour some pink sanding sugar.  Flatten your marshmallow; you want these to be flatter than the feet, cut them in half placing the sticky side into the pink sanding sugar for the inner bunny ear.  Place ear pairs with sanding sugar up to dry.  (Do a pair for each bunny tail you are making).


Now go back to your bunny feet, you will need your pink or red food coloring and food safe brush.  I found it was easier to have a few drops of food coloring on the waxed paper and a paper towel to wipe the brush of excess coloring.  Touch the brush tip to the food coloring and for the top of your foot make a large dot of color, not too much or it will bleed color all over the foot.  (This is where the extra feet come in handy).  Below the large dot make four extra small dots for the toes.  Let dry.

(Left feet show how the color can bleed if too much is used.)


The second part is the bunny tail base, you will need a Oreo Thins Cookie Mint for each bunny you make. Also, unwrap the Lindt white Chocolate truffles for each one and also set aside.   Lay out a sheet of wax paper big enough to hold all your cookies and a fork.

Take the shallow microwavable bowl and melt the green candy melts in the microwave in 10 second intervals, stirring until completely melted.  Now take an Oreo and a fork in hand and submerge the cookie in the melted candy melts cover both sides of the cookie and using the fork lift the cookie out and place on wax paper.  Do this for each bunny you are making.  While the chocolate is still soft place a Lindt truffle in the center of each cookie base, this will be the bunny bum.


Once each base has a bunny bum, use a toothpick and apply candy melt to the back/sticky side of the bunny tail and attach the tail slightly off the top center of each bunny rump.  Then move on to the feet, take a pair of feet with the toes side to the bottom of each base and using a toothpick apply a little bit of melted candy melts to the sticky side of the foot.  Place the foot on a slight angle against the bunny bum just below the tail.


Once the bottoms and feet are done move on to the ears.  For these, the sanding sugar will face out to either side of the bunny.  This will give the impression that the bunny is reaching into his bunny den for his stash of carrots with his tail in the air.  Follow the same process to attach the ears to the top of the bunny as you did for the feet.


Don't worry if the feet or ears or tail are not center, no two bunnies are ever the same. Unless they are twins, that is.  Now you can stop here or make a batch of green royal icing and a decorator's bag and garb a grass tip.  Take your grass tip and pipe around the bunny.  You can add an egg or pre-made flowers beside the bunnies to give it a more festive look.


Let me know your Bunny Tail Treats tips.

Our table.

Sweet and Salty Valentine Treats

With Valentine’s Day around the corner here's a cute idea for your favorite little valentines.  First:  Make up your preferred party snack mix.


Next, add you favorite candy coated chocolate to the party mix. I found these valentine M & M's at Target


Then melt some white candy-chocolate wafers and drizzle it over the mix. Let it cool and firm up. 


Meanwhile, decorate your valentine containers.  (I found these cute red milk cartons after Christmas at Michael's craft store.)   


Taking some valentine stickers and some package twine I customized each carton. Filling each one with valentine party snack mix.   


 Wishing a Happy Valentine's Day to you and yours. 


Gingerbread 1877 Schoolhouse Replica

Well I did it, entered a gingerbread house replica of the 1877 Thayer Schoolhouse of Northville Township.  This was a fundraising event for The Friends of Northville Township Historic District Commission  to help renovate one of the township's oldest structures, the Thayer Schoolhouse at the corner of Six Mile and Napier roads.  They had various professional and amateur bakers construct a gingerbread schoolhouse to be auctioned off at the event on November 14th.  The entries were then to be judged by local celebrities and ribbons were awarded to the top three.  


This is my first house not out of a box kit and I've only done them with the kids.  I was having 1st, 2nd, 3rd, 4th and so on thoughts. Even so far as wanting to hop back in the car to turn around when I arrived at the drop off location. Let me tell you, wow! Some of those gingerbread houses pieces of art.  


My dear brother helped me with my template. I just could not get the roof right, even with his template. I didn’t know how to account for the thickness after baking. 


Wishing you all a Happy Thanksgiving.  

Sweet and Salty treats

Here's a sweet and salty semi-home made treat that's easy to make for your ghosts, ghouls and goblins. 


 So simple, just melt you preferred chocolate chips or candy melts, then dip your pretzel rod half way.  Let the chocolate set for a few minutes.  Then with another color drizzle over each coated rod and add sprinkles or other Wilton characters, such as these too cute characters.  


 Add some red sprinkles for vampire kiss or orange for pumpkin kiss, and a few holiday bone sprinkles, for some bone chill-in tales.  


Have a safe and happy Halloween. 


Smoothie Social and Graduations

**House Party has a new name it is now #RippleStreet.com

In early June, I was awarded a HouseParty #sponsored by #Silk and #NutriBullet.  It was a Smoothie Social.  I think I have discussed how HouseParty.fun works in a previous post. I was really excited to find that as a Hostess, I would receive a NutriBullet Pro 900, measuring cups, bamboo cutting board, a hard cover recipe book and ice trays.  Earthbound Farms provided vegetable coupons that I was able to use when I provided the fruit and vegetables for my social.  My guests got to take home coupons from Silk, #Earthbound Farms for free products and even 20% off NutriBullet, recipes, Silk Mason jar mugs, and bamboo spoons that we also used at the social.  We tried out many different recipes and my guests and I were very impressed with how amazing the NutriBullet Pro worked over the blender I previously used. Check them out for your-self.  


The end of June brought graduation cakes.  The cakes were simple butter cream, but the humid air was not playing nice.


I was disappointed in the brand of vanilla that I purchased, although it was my usual standby.  I bought another brand, but remained disappointed.  It just seemed like it wasn't as fragrant as normal.  I think I would like to try to make my own vanilla.  I know many bakers who make their own vanilla.   Anyone have any pointers for me making vanilla from scratch?  I would love to hear from you.


Boo-tiful Elegant Halloween Treat

With hints of autumn in the air I started to pull out my seasonal decor this past weekend.  Some of my autumn decor was from last year's trip to Dixboro General Store.  It's where I found these cute Halloween bric-a-brac ornaments.  (You can find inspiration in many places, and for me one of those is a store in Ann Arbor, Michigan.  So the next time you are out and about in Ann Arbor stop in and see what they have to inspire you.)


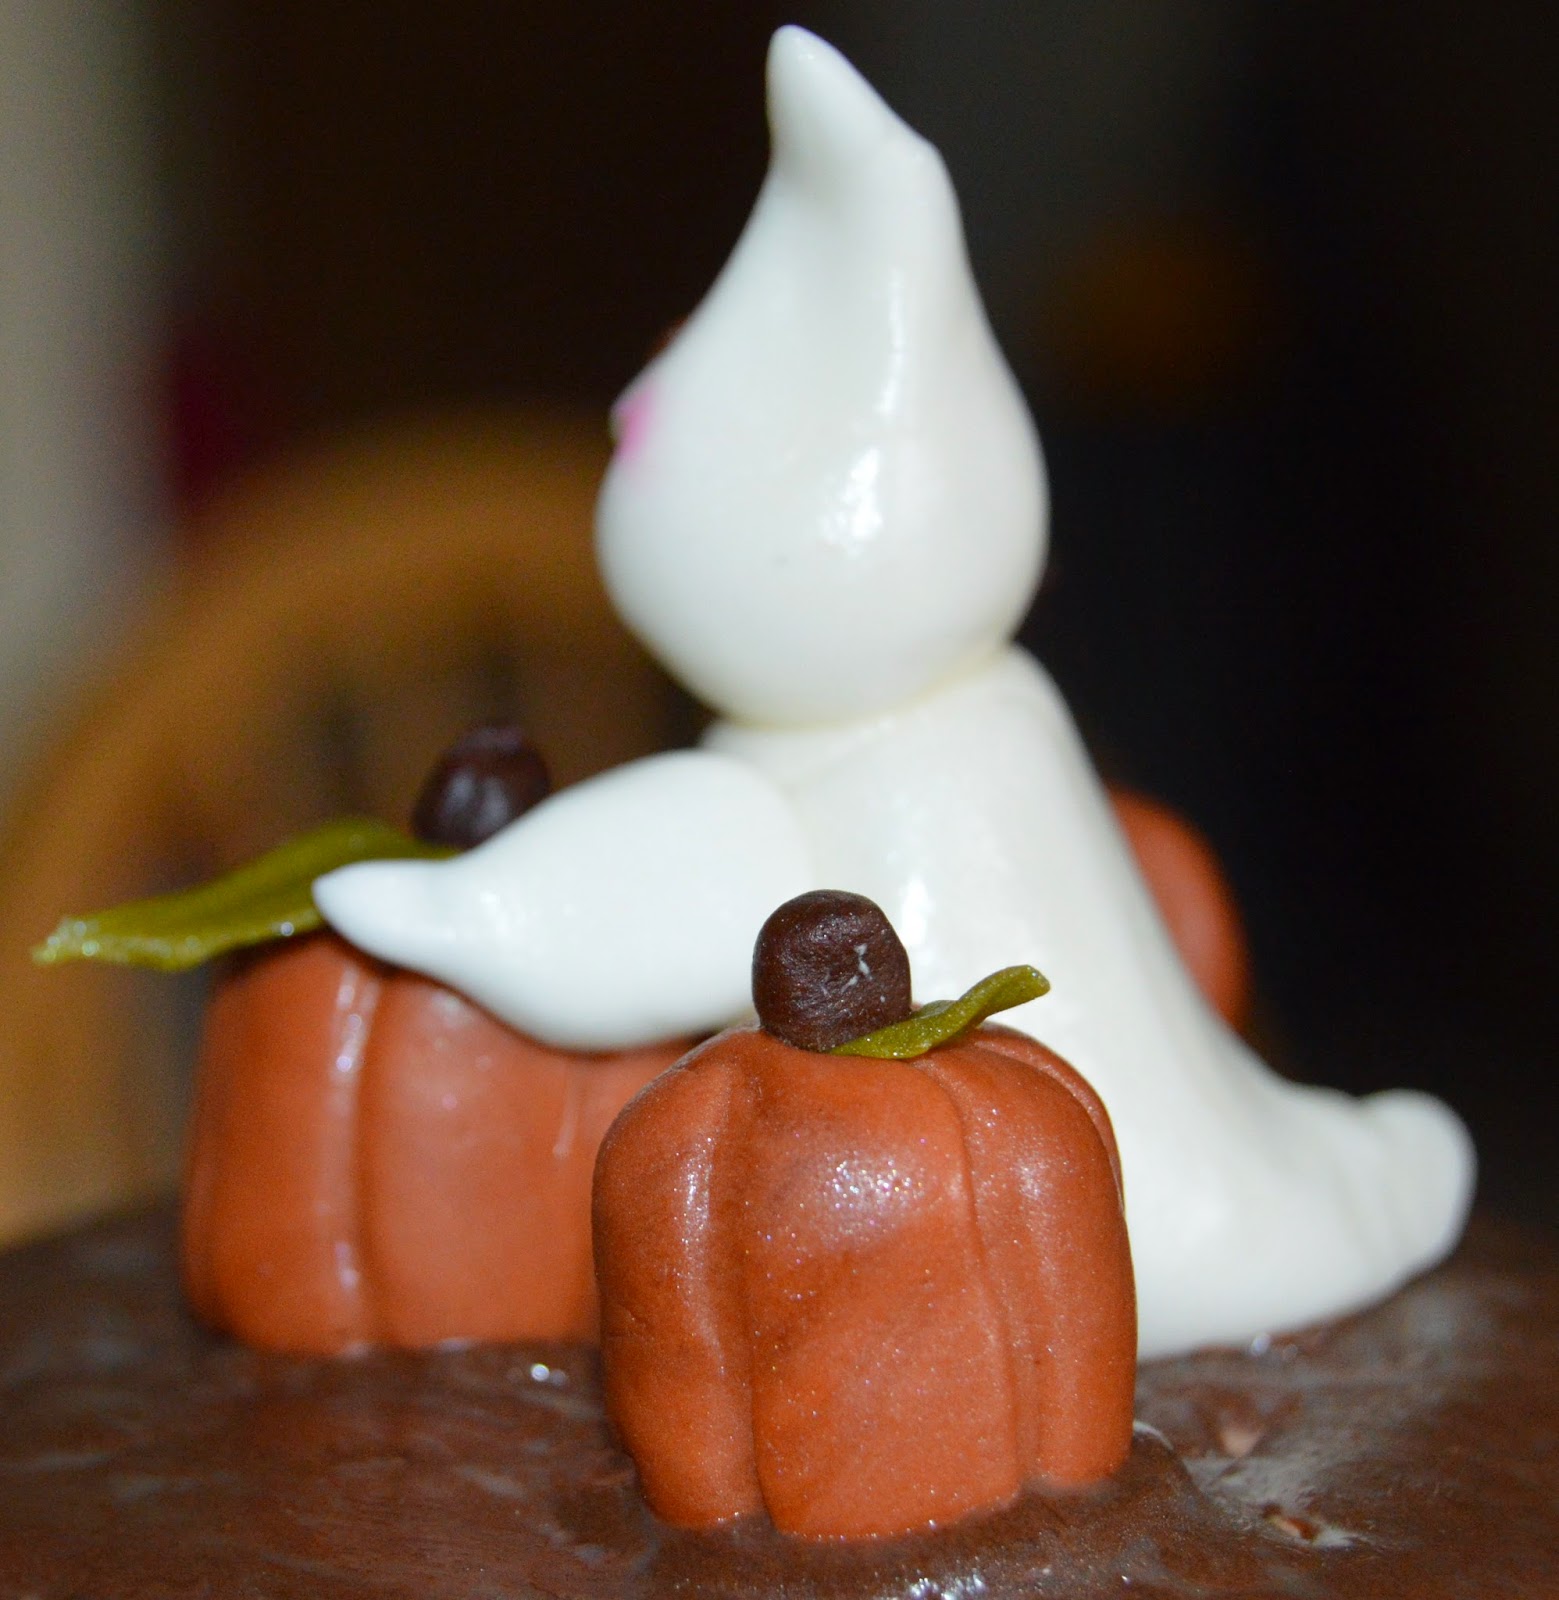
With them for inspiration, I grabbed some fondant and food coloring and went to work.  Molding my fun spooky specter and squashes out of a fondant medium, but finding just the right base was a whole other issue. I didn't want them to get lost in a lot of colors, or busy cake, I wanted them to be the focus. I settled on a whipped chocolate ganache-covered mini cake.  These mini cakes makes portion control easy and when dressed in whipped chocolate ganache will satisfy any one's sweet tooth.


This spooky specter says have a Boo-tiful Halloween.

Happy Birthday America!

Hope everyone had a wonderful Independence Day!  
Following is a light and very refreshing dessert for you to try for your next 4th of July Celebration. I found the recipe on Cooks Illustrated website.  

 
It's a fresh Strawberry and Blueberry Mousse. 

 I decided to use Ball 8oz Quilted Crystal Jelly Jars with lids which would make it easier to transport and the dessert looked pretty in them.


I started with the blueberry mousse layer first.  After it was chilled and set, I added the strawberry mousse layer.  The jars were then placed back in the refrigerator to firm up till time to serve them.  Just before serving I  whipped up homemade whipping cream.  I then added some extra berries and flags to top it all off!


 As you can see by the pictures, my nephew and niece enjoyed them.  My Grandmother (96 years young) thought they were delicious!!


Thank you to all the men and women who fight for our freedom.

Fall Harvest Roasted Beet Hummus

  I hope your summer has been enjoyable.  I got a late start on my garden this year. I'm getting some vegetables coming in now.   I was ...