Showing posts with label Homemade. Show all posts

Pumpkin Pie or is it?


Its fall pie season again and there is nothing like pumpkin pie.  My grandmother would always take a weekend and bake dozens of pies for family and friends.  A fresh baked pumpkin pie always reminds me of her.  Grandma's spirit was by my side as I set out to bake some fresh pumpkin pies.  

With a trip to out local farmers market for pie pumpkins.  Oh yes, I did say fresh.  It was the end of the season for them and they had a sale on Hubbard squash.  They told me that Hubbard squash make an excellent pumpkin pie. I had my doubts, but I decided to do a taste test and baked pie pumpkin and Hubbard squash. Come along on my squash journey.    


I had to find out how to bake a Hubbard squash, its a very hard-skinned fruit.  I found the easy way for me was to cut it in half.  You have to be very careful to cut in to this fall fruit (squash). Its much harder than a true pumpkin.  Cutting the Hubbard in half very carefully with a knife and a meat mallet. (Yes, it is that hard) and you have to do it carefully.  I would tap it in inches and started in the center and did one side and then move to the other. This squash has almost a melon or cucumber aroma.   

Once I had it in half, I baked it two ways:  I scooped the seeds out prior to baking and the other after.  I found that baking with the seeds made it easier to remove them. 


I baked it on parchment paper upside down.  As you can see the squash is very large even in half.  That is a full size cookie sheet and I made sure to use one of my old pans in case of run off baking on the pan.


As you can see there was a lot of juice splatter, I did not add any oil or butter to the squash. 


Oh, and that melon or cucumber aroma dissipated during baking and it smells like any other squash.


Once cooled, I scooped out the seeds into a bowl to set aside for the back yard wild life. I then began to scoop out the fruit flesh to another lager bowl.  I found the skin to be very thick and tough and set aside for my compost.  


After collecting all the squash in small batches I used my immersion blender to puree the squash. 


At this point I followed my pumpkin pie recipe. 
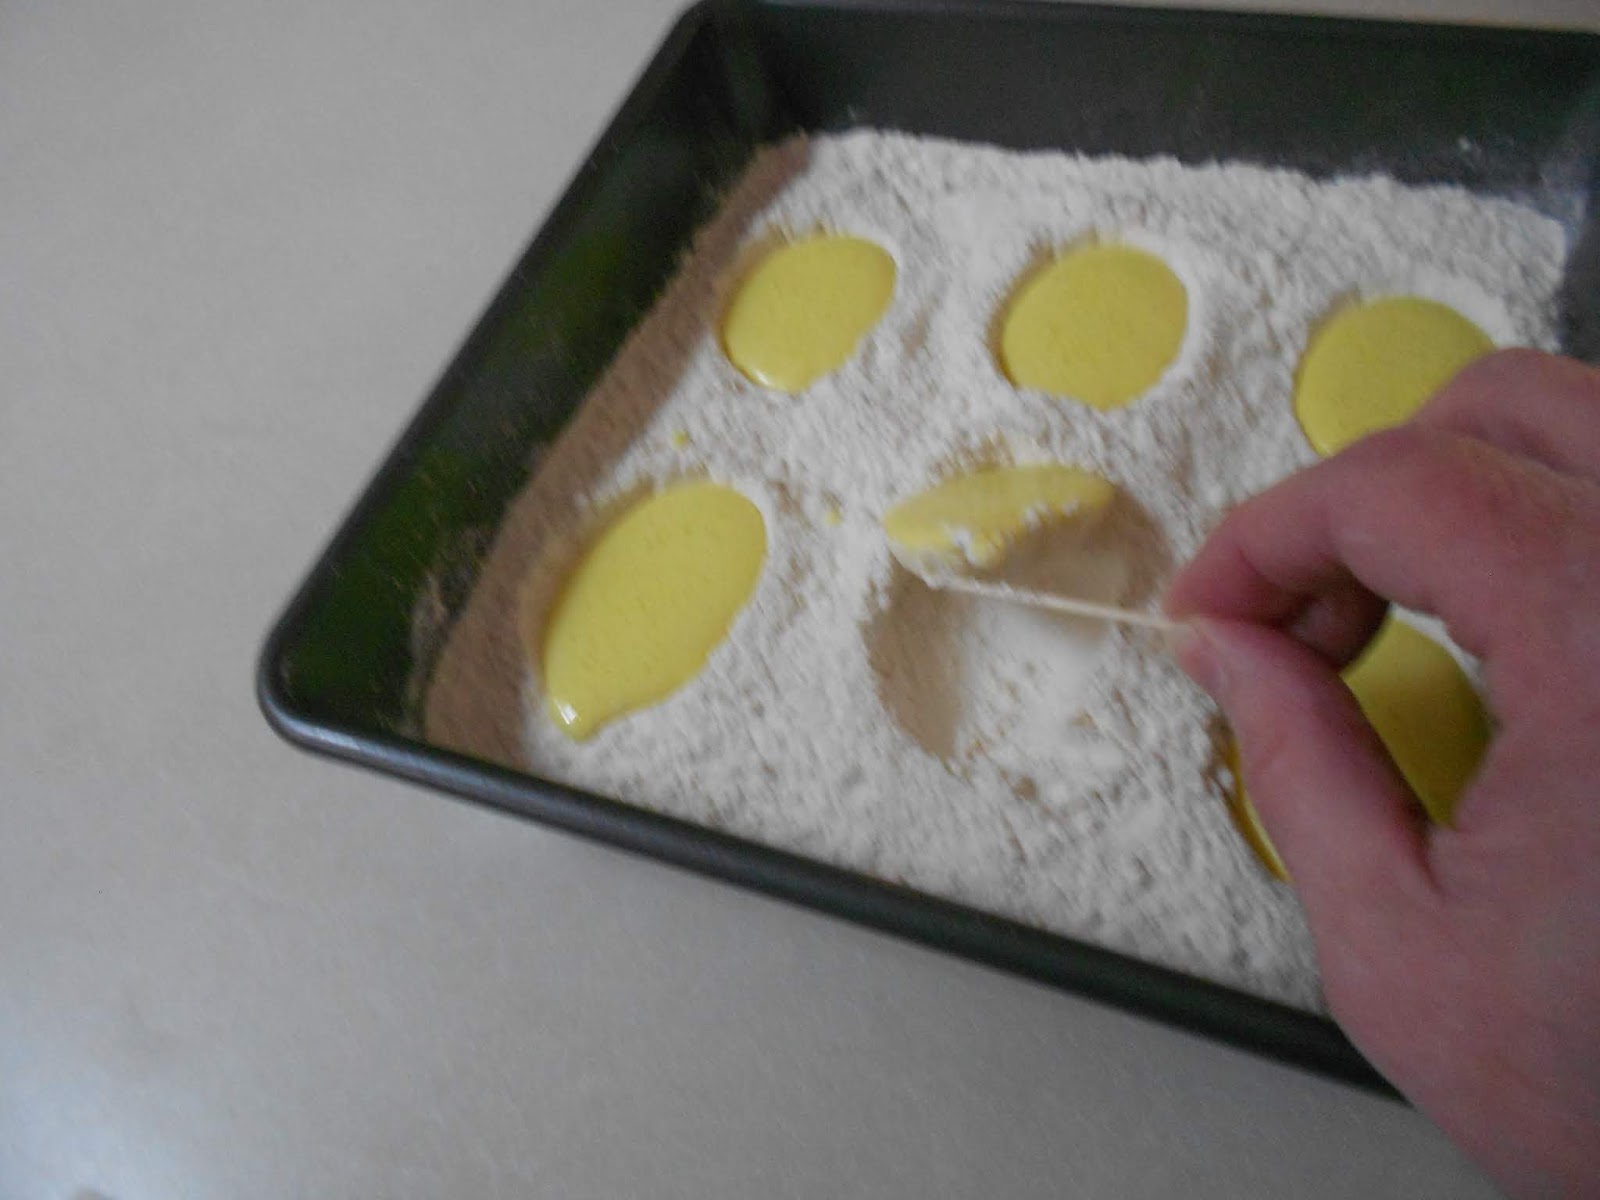
While my dough making could use some practice, I was proud to make it from scratch. 
My testers were my unknowing family....

This is what we found:

The Hubbard squash made a much smoother and creamier custard. It also allowed for the pumpkin spices to come through much better than the pumpkin did. As you can see in the photo below it has creamier and shiny texture. 


Below is a side by side of pumpkin (left) and Hubbard (right) squash pie.
Both were made from fresh squash and same recipe. 


The verdict:  my family preferred the Hubbard squash pumpkin pie over the true Pumpkin squash pie.
If you get the chance, I recommend trying the Hubbard squash the next time you bake a pumpkin pie. 

I would love to know if you have ever tried Hubbard squash before and what dishes you've made.

Maggie


Vintage Lime Meringue Pie


I have been blessed to have in my possession both of my grandmothers and mother's recipe books. These vintage books are family and country history. They tell a story of the time they were printed, shared, and handed down. I love to find the hand written notes of my loved ones and yes, even the food-stained pages.  I feel their love in the kitchen with me. Join me on my vintage recipe journey. 

This recipe I found in my grandmother's Betty Crocker's  and Gold Metal flour Pie Parade on page 27. 
This vintage book is dated 1957. 

I picked the Lime Meringue pie in honor of 
St Patrick's day. 


I pulled out and measured all the ingredients and read the recipe over before starting.  This recipe had a few stages and I laid out those ingredients accordingly. 
First, you need to bake a pie shell.  Now, I'm out of practice on making dough, and my shells kept shrinking.  So, I cheated and purchased a pre-made shell to bake.  It shrank a little so I don't feel so bad.  Yes, I did use my pie weights with both my homemade pastry and store bought. 

 Below, I zested the fresh Limes and then juiced them and set aside. 
I left out the green food color drops for this step also.


Next, was the water, sugar, egg yolks, corn starch, saving the whites for the meringue, storing them in the refrigerator to keep cold. These four ingredients were then combined in stages over heat. 


I followed the recipe and after it came to a boil for the required time I poured it into the cooled pie shell and I went to work on the meringue. 
Once done, I added the meringue and back in the oven to get these golden tips. 
Not bad since it's been some time since I made any meringue pie.


While it cooled I tried my hand at candying the lime peels for garnish, which is my special touch. 

The candy shell of the peel was hard, and slightly tacky.  But that worked well with the lime zest sugar I tossed them into before garnishing the pie.

 Though I should have boiled the peels a little longer, I found the peels themselves once the candy coating was gone were chewy. But we are never too old to learn or relearn a cooking skill.


This vintage Lime Meringue pie was tart, sweet and with a little help, green, with fluffy light meringue.

Happy St. Patrick's Day!!

Have a loved vintage recipe from your mother or grandmother? Leave me a note in the comments!

Maggie


Marshmallow Easter Eggs


 Once again I've fallen back to an old family cook book for these Marshmallow Easter Eggs. I pulled out my mothers Farm Journal Homemade Candy book.  


This recipe only called for 5 ingredients which our pantry did have. I even found some left over Easter paper cups and sprinkles!   


Marshmallows call for: 

2 tablespoons cold water
1/2 cup boiling water
1/2 cup sugar
1/2 teaspoon salt
1/2 teaspoon Vanilla 
Chocolate or Wilton Candy melts

1 Egg (use as a mold) 
Food coloring (optional)
Candy sprinkles (optional)


Add gelatin to a double boiler, then add the cold water. Once the gelatin has soften add the boiling water and mix, now slowly add the sugar, salt stir until its completely dissolved.  Then pour gelatin mixture in to your electric mixing bowl and whip on high speed until its thick and airy.  Now add the vanilla and food coloring continue to mix.  
While waiting on the gelatin to mix let's make the egg mold.  Add 1" to 2" of flour to a small rimmed pan. Take your egg in shell I place mine in a small plastic bag to keep from contaminating the flour. Or if you have any plastic Easter eggs you could use one of those.   I didn't think of that until now.  


Push your egg in to the flour, space the eggs at intervals. 


This will be your egg mold, 


Next ladle your Marshmallow mixture into your flour Easter egg mold.  Don't worry if some of your mixture over runs, you can trim it once it sets up. 


Set in a cool dry area and let set up over night. 


I only made 6 half eggs since I didn't want use my pantry of flour.  The rest of the mixture I poured in 1/4 size cookie sheet that I sprayed with cooking spray.  At this point you can add candy sprinkles. Then set aside in a cool dry area to set up over night.  


The next day I used a tooth pick to see how firm they were. 


Once I removed them and brushed them off with a pastry brush and used a pizza cutter to trim my eggs of any over flow tails.


For the eggs, in a small microwave safe bowl add your chocolate or candy melts. Melt at 10 second intervals in the microwave, stir each time. 
Once melted dip a half egg in or sandwich the two half's together. 


Once coated cool in the refrigerator to set up faster. You can drizzle with a different color candy melt or add sprinkles before setting up in the refrigerator.  

For the cookie sheet marshmallows, flip out on a floured surface. 


Dust lightly with powder sugar. 


I found some Easter/Spring cookie cutter for some fun Marshmallows.  


Use your cookie cutters as you would for cookie dough on your marshmallows.  Keep in mind that your Marshmallow will be sticky.  For each cut out I would dip the cutter in my left over flour from my egg mold.  


Set your shapes a side to let the cut edges dry, 15 to 20 minutes, depending on how humid your weather is.


 For eyes I found some mini chocolate morsels.  


I found some Easter boxes and cups I was going to use for the church spring bake sale, but was canceled. Ill be dropping these off to my niece and nephews since it's looking like we wont be getting together due to Covid-19.  

Happy Easter Everyone!
Be Safe!
#WeAreInThisTogether


Pistachio Dessert Bites

Pistachio dessert bites for Saint Patrick's day any one?  Yes, Please! Theses creamy, light, crunchy, bite size treats are easy to make ...